How to Install a Vinyl Fence: A Step-by-Step Guide
Looking to add privacy, security, and curb appeal to your property? Installing a vinyl fence is a popular and cost-effective solution. By following this step-by-step guide, you’ll be able to successfully install your very own vinyl fence and enjoy its benefits for years to come. Read on to learn more.
Understanding the Basics of Vinyl Fencing
Before diving into the installation process, it’s important to understand why vinyl fencing is a popular choice among homeowners. Here are some key benefits:
Benefits of Choosing Vinyl Fencing
One of the main advantages of vinyl fencing is its durability. Unlike wood fences that are susceptible to rotting, warping, and insect damage, vinyl fences are designed to withstand the elements and maintain their appearance over time. This means that you won’t have to worry about your fence deteriorating or losing its aesthetic appeal.
Additionally, vinyl fences require minimal maintenance, eliminating the need for painting or staining. Unlike wood fences that need to be regularly repainted or re-stained to maintain their appearance, vinyl fences can simply be cleaned with soap and water to keep them looking brand new. This not only saves you time and effort but also reduces the long-term costs associated with fence maintenance.
Another benefit of vinyl fencing is its versatility. Available in a variety of styles, colors, and textures, vinyl fences can be tailored to match any architectural style or personal preference. Whether you’re looking for a classic picket fence to enhance the charm of your front yard or a sleek privacy fence to create a secluded oasis in your backyard, vinyl offers endless design possibilities.
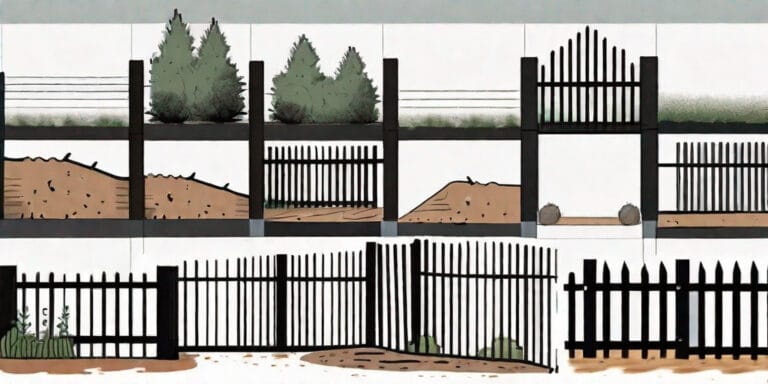
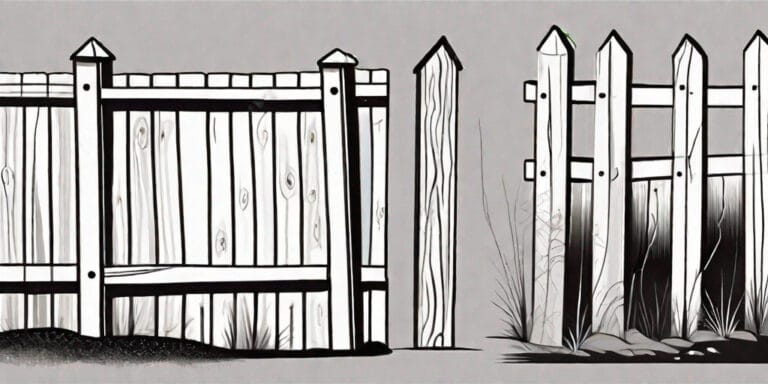
Key Components of a Vinyl Fence
Before you start installing your vinyl fence, it’s important to familiarize yourself with its key components. These include:
- Posts: These vertical structures serve as the framework for your fence. They are typically made of sturdy materials such as galvanized steel or reinforced vinyl to provide stability and support to the entire fence structure.
- Rails: Horizontally placed, these connect the posts and provide additional stability to the fence. The number of rails used in a vinyl fence can vary depending on the height and style of the fence.
- Panels: These are the main body of the fence and are typically made up of individual pickets or boards. The panels are attached to the rails and provide the visual barrier and privacy that a fence offers.
- Gates: If you plan on incorporating a gate into your vinyl fence, make sure to include it in your materials list. Gates are essential for providing access to your property and can be customized to match the style of the fence.
When selecting the components for your vinyl fence, it’s important to choose high-quality materials that are specifically designed for outdoor use. This will ensure that your fence is able to withstand the elements and maintain its structural integrity for years to come.
Now that you have a better understanding of the benefits of vinyl fencing and its key components, you’re ready to move on to the installation process. Remember to carefully follow the manufacturer’s instructions and take the necessary safety precautions to ensure a successful and long-lasting vinyl fence installation.
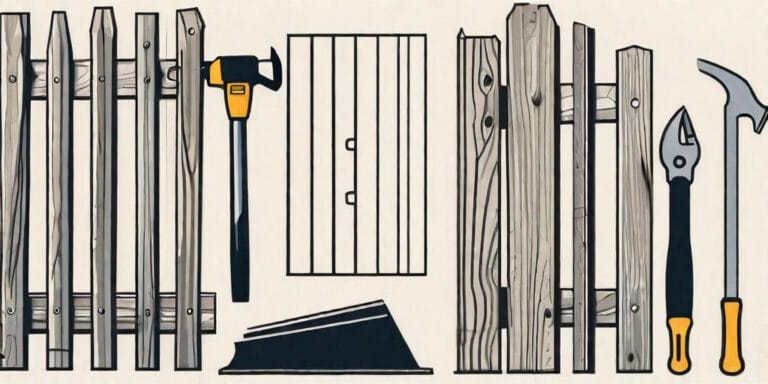
Gathering Your Tools and Materials
Now that you understand the basics of vinyl fencing, it’s time to gather the necessary tools and materials for your installation. Here are the essential tools:
Essential Tools for Vinyl Fence Installation
- Tape Measure: To accurately measure your fence line and determine the placement of the posts.
- Post Hole Digger: Used to dig the holes for the fence posts.
- Level: Ensures a straight and even installation.
- Saw: To cut the fence panels and rails to the desired length if needed.
- Drill: Required for attaching the fence panels and hardware.
- Screws or Nails: To secure the fence panels and hardware.
In addition to the tools, you’ll also need the following materials:
Choosing the Right Vinyl Fence Materials
When selecting your vinyl fence materials, consider the following factors:
- Fence Panels: Choose panels that suit your desired design and privacy needs.
- Posts and Rails: Opt for sturdy and weather-resistant materials.
- Concrete: Used to secure the fence post in the ground for added stability.
- Hardware: This includes screws, brackets, and gate hinges.
Now let’s delve deeper into each of these tools and materials to ensure you have a comprehensive understanding of their importance and how they contribute to a successful vinyl fence installation.
Essential Tools for Vinyl Fence Installation
The first tool you’ll need is a tape measure. This simple yet crucial tool allows you to accurately measure your fence line, ensuring that you have the correct dimensions for your vinyl fence. By measuring carefully, you can determine the placement of the posts and ensure that your fence installation is straight and level.
Next, you’ll need a post hole digger. This tool is essential for digging the holes that will hold the fence posts. It allows you to dig deep and wide enough holes to provide stability and support for your vinyl fence. With a post hole digger, you can ensure that your fence posts are securely anchored in the ground.
Another important tool is a level. This simple device ensures that your fence installation is straight and even. By using a level, you can avoid any unevenness or sloping in your fence, creating a professional and visually appealing result.
A saw is also necessary for vinyl fence installation. While most fence panels and rails come in standard sizes, there may be instances where you need to cut them to fit your specific needs. A saw allows you to make precise cuts, ensuring that your fence panels and rails are the perfect length for your installation.
Lastly, you’ll need a drill. This tool is required for attaching the fence panels and hardware. By using a drill, you can easily and securely fasten the panels to the posts, ensuring that your vinyl fence is sturdy and durable.
Now that you have a thorough understanding of the essential tools, let’s move on to the materials you’ll need for your vinyl fence installation.
Choosing the Right Vinyl Fence Materials
When selecting your vinyl fence materials, it’s important to consider a few factors. First, you’ll need to choose the right fence panels. These panels come in various styles and designs, so it’s essential to choose one that suits your desired aesthetic and privacy needs. Whether you prefer a classic picket fence or a more modern and sleek design, there are options available to suit every taste.
Next, you’ll need to select the posts and rails for your vinyl fence. It’s crucial to opt for sturdy and weather-resistant materials to ensure the longevity of your fence. Vinyl is an excellent choice for its durability and low maintenance requirements. By choosing high-quality posts and rails, you can rest assured that your vinyl fence will withstand the elements and remain in excellent condition for years to come.
In addition to the fence panels and posts, you’ll also need concrete. This material is used to secure the fence posts in the ground, providing added stability and support. By properly setting the fence posts in concrete, you can prevent any shifting or leaning of the fence, ensuring its structural integrity.
Lastly, don’t forget about the hardware. This includes screws, brackets, and gate hinges. These small but essential components play a crucial role in the overall functionality and appearance of your vinyl fence. By choosing high-quality hardware, you can ensure that your fence is securely fastened and operates smoothly.
By understanding the importance of each tool and material, you can confidently gather everything you need for your vinyl fence installation. With the right tools and materials in hand, you’ll be well-prepared to embark on your project and create a beautiful and durable vinyl fence.
Preparing Your Installation Site
With your tools and materials ready, it’s time to prepare your installation site. Proper preparation is crucial for a successful vinyl fence installation. Here are the necessary steps:
Measuring and Marking Your Fence Line
Start by measuring and marking the exact location of your fence line. Use a tape measure and stakes to outline the perimeter of your fence. Ensure that the measurements are precise and the line is straight.
Checking for Underground Utilities
Before digging any post holes, it’s essential to check for underground utilities. Contact your local utility companies to identify the location of any buried cables, pipes, or electrical lines. This precautionary step will prevent any accidental damage during the installation process.
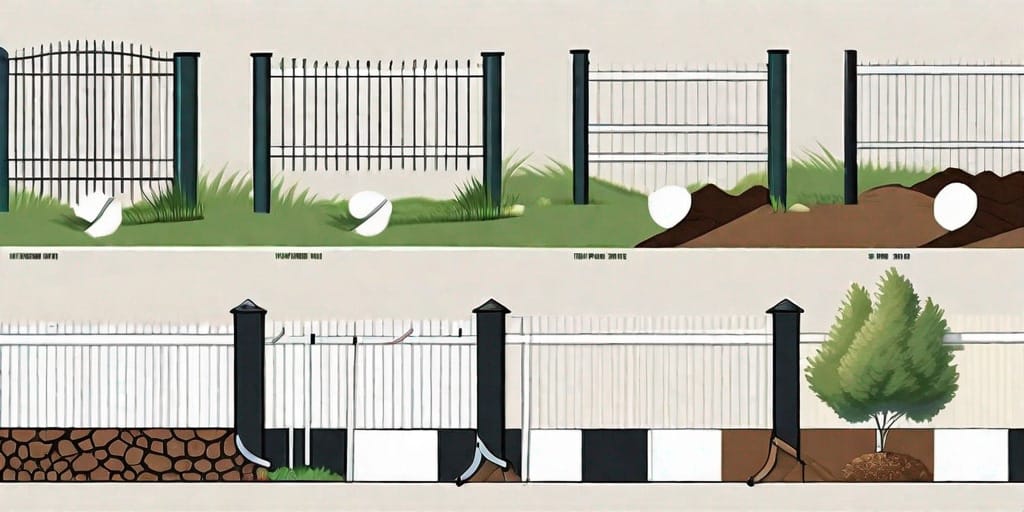
Setting Up Your Vinyl Fence Posts
Now that your site is prepared, it’s time to start setting up your vinyl fence posts. This section will cover two crucial steps: digging the post holes and installing and securing the posts.
Digging the Post Holes
Using a post hole digger, excavate holes for the fence posts along your marked fence line. The depth and diameter of the holes will depend on the specific guidelines provided by the manufacturer. Ensure that the holes are evenly spaced and aligned to maintain a straight fence line.
Installing and Securing the Posts
Once the holes are dug, it’s time to install the fence posts. Start by placing a layer of gravel at the bottom of each hole to provide drainage. Then, carefully insert the posts into the holes and fill them with concrete, ensuring that the posts remain level and plumb. Allow the concrete to dry and cure according to the manufacturer’s instructions before proceeding.
Attaching the Vinyl Fence Panels
With the posts in place, it’s time to attach the vinyl fence panels. This section will guide you through the steps of aligning the panels correctly and securing them to the posts.
Aligning the Panels Correctly
Begin by positioning the first fence panel against the first two posts. Use a level to ensure that the panel is straight and adjust as needed. Once aligned, secure the panel to the posts using screws or brackets, following the manufacturer’s guidelines.
Securing the Panels to the Posts
Continue attaching the remaining panels in a similar manner, making sure to align them correctly and secure them tightly to the posts. Double-check the levelness of each panel as you progress to maintain a professional and uniform installation.
Congratulations! You have successfully installed your vinyl fence. Take a step back and admire your work, knowing that you’ve added both functionality and beauty to your property. Remember to regularly inspect and clean your fence to ensure its longevity and continued appeal.