How to Install an Electric Fence
electric fence installation is a cost-effective way to secure your property and keep unwanted animals out. Whether you’re looking to protect your garden or livestock, understanding the basics of an electric fence is crucial for a successful installation. In this article, we will guide you through each step of the process, from gathering your materials to setting up the fence posts and installing the electric wire.
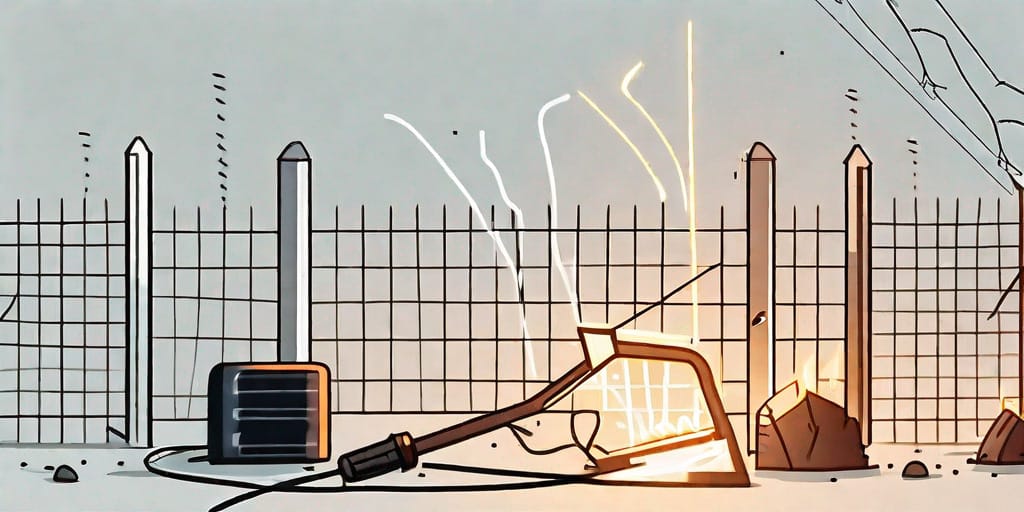
Understanding the Basics of an Electric Fence
An electric fence is a barrier that delivers a harmless but memorable shock to animals that come into contact with it. It works by using a combination of wires, insulators, and an energizer, also known as a power source. The energizer converts electrical energy into pulsating electric shocks and sends them along the wires.
Electric fences have been used for decades as a reliable and efficient way to keep animals contained within a specific area or to keep unwanted animals out. They are commonly used in agricultural settings to protect livestock from predators or to prevent them from wandering off. However, electric fences can also be used in residential settings to keep pets safe or to protect gardens from wildlife.
When an animal touches the electric fence, it completes the electrical circuit and receives a brief but memorable shock. This shock acts as a deterrent, teaching the animal to avoid the fence in the future. The intensity of the shock can be adjusted to suit the size and temperament of the animals being contained or deterred.
What is an Electric Fence?
An electric fence consists of several components, including conductive wires, fence posts, insulators, and an energizer. The fence posts provide support and stability, while the wires carry the electric current. Insulators, usually made of plastic, are used to attach the wires to the fence posts and prevent electrical leakage. The energizer, connected to a power source, generates the electric pulses that deter animals from crossing the fence.
The conductive wires used in electric fences can be made of various materials, such as steel or aluminum. These wires are designed to be highly conductive to ensure that the electric current flows efficiently through the fence. The number of wires used in an electric fence can vary depending on the desired level of containment or deterrence.
Fence posts are an essential part of the electric fence system as they provide the structure and support for the wires. They are typically made of wood, metal, or fiberglass and are installed at regular intervals along the fence line. The spacing between fence posts depends on the type of animal being contained or deterred and the terrain of the area.
Insulators play a crucial role in electric fences as they prevent the electric current from escaping into the ground or other nearby objects. They are usually made of non-conductive materials, such as plastic or ceramic, and are attached to the fence posts. The wires are then threaded through the insulators, ensuring that they are held securely in place while maintaining proper insulation.
The energizer, also known as a fence charger or controller, is the heart of the electric fence system. It is responsible for converting the electrical energy from the power source into pulsating electric shocks. The energizer can be powered by various sources, including mains electricity, batteries, or solar panels. Some energizers also have additional features, such as alarms or remote control capabilities.
Benefits of an Electric Fence
There are numerous benefits to installing an electric fence. Firstly, it provides an effective deterrent to wandering animals, keeping them out of your property and preventing potential damage. The electric shocks delivered by the fence are designed to be memorable but not harmful, ensuring the safety of both animals and humans.
Electric fences are also easy to install and require minimal maintenance compared to traditional fences. They can be set up relatively quickly, and the wires can be easily adjusted or replaced if needed. Additionally, electric fences are more cost-effective than traditional fences in terms of both materials and labor. They require fewer materials and can be installed with fewer posts, resulting in lower overall costs.
Another benefit of electric fences is their versatility. They can be customized to suit different types of animals and specific containment needs. The intensity of the electric shocks can be adjusted to be more or less powerful, depending on the size and temperament of the animals being contained or deterred. This flexibility makes electric fences suitable for a wide range of applications, from small residential properties to large agricultural areas.
Safety Precautions for Using an Electric Fence
Before proceeding with the installation, it’s essential to consider safety precautions. Make sure to read and follow the manufacturer’s instructions carefully to ensure proper installation and operation of the electric fence. Each manufacturer may have specific guidelines and recommendations that need to be followed.
Always disconnect the power before working on the fence to avoid electric shocks. This step is crucial for the safety of the installer and anyone else who may come into contact with the fence during maintenance or repairs. It is also important to regularly inspect the fence for any signs of damage or wear and tear and to address any issues promptly.
In addition to taking precautions during installation and maintenance, it is essential to post warning signs at regular intervals along the fence line to alert people to the presence of an electric fence. These signs serve as a reminder to both residents and visitors to exercise caution and avoid touching the fence. Clear and visible signage can help prevent accidents and ensure the overall safety of the area.
By following these safety precautions and guidelines, an electric fence can provide an effective and reliable solution for containing or deterring animals. Whether used in agricultural or residential settings, electric fences offer numerous benefits and can be a valuable tool in animal management and property protection.
Gathering Your Materials
Before you begin your electric fence installation, it’s important to gather all the necessary materials. This will ensure that you have everything you need to complete the installation process smoothly. Here are the essential tools you’ll need:
Essential Tools for Installation
- Measuring tape: A measuring tape will help you accurately determine the length of wire needed for your electric fence. This will ensure that you have enough wire to cover the desired area.
- Fence post digger: A fence post digger is an essential tool for creating holes in the ground to install the fence posts. It makes the process much easier and more efficient.
- Insulators: Insulators are necessary to keep the electric wire securely attached to the fence posts. They help prevent the wire from coming into contact with the posts, ensuring that the electric current flows through the wire and not into the ground.
- Wire cutters: Wire cutters are needed to trim the electric wire to the desired length and to cut through any excess wire. They are essential for ensuring a neat and tidy installation.
- Wrench: A wrench is necessary for tightening the nuts and bolts that hold the fence posts and other components together. It ensures that everything is securely fastened and prevents any loose connections.
- Screwdriver: A screwdriver is needed for attaching the insulators to the fence posts. It allows you to easily screw them in place, providing a stable and secure attachment point for the electric wire.
- Grounding rod: A grounding rod is an important component of an electric fence system. It helps to safely dissipate any excess electrical charge and prevents the fence from becoming overcharged.
- Energizer: The energizer is the heart of the electric fence system. It supplies the electric current that runs through the wire, deterring animals from coming into contact with the fence. It is important to choose an energizer that is suitable for your specific needs and requirements.
- Wire: The wire is the main component of the electric fence. It carries the electric current and creates a barrier that animals will avoid. There are different types of wire available, so it’s important to choose the one that is most suitable for your particular application.
Choosing the Right Electric Fence Kit
When selecting an electric fence kit, there are a few factors to consider. The size of your property and the type of animals you want to deter are important considerations. Kits typically come with all the necessary components, including wires, insulators, and an energizer. However, it’s important to choose a kit that meets your specific requirements.
If you have a large property, you may need a kit that includes a longer length of wire and additional insulators. This will ensure that you have enough materials to cover the entire area effectively. On the other hand, if you have a smaller property, a basic kit may be sufficient.
The type of animals you want to deter is also an important consideration. Different animals have different behaviors and may require specific types of electric fences. For example, if you want to deter small animals like rabbits, a lower voltage fence may be suitable. However, if you want to deter larger animals like deer or livestock, a higher voltage fence may be necessary.
It’s also worth considering the reputation and reliability of the electric fence kit manufacturer. Look for kits that have positive reviews and are known for their durability and effectiveness. This will ensure that you are investing in a high-quality product that will last for years to come.
By carefully considering these factors and choosing the right electric fence kit, you can ensure a successful and effective installation process. Remember to follow the manufacturer’s instructions and take all necessary safety precautions when installing your electric fence.
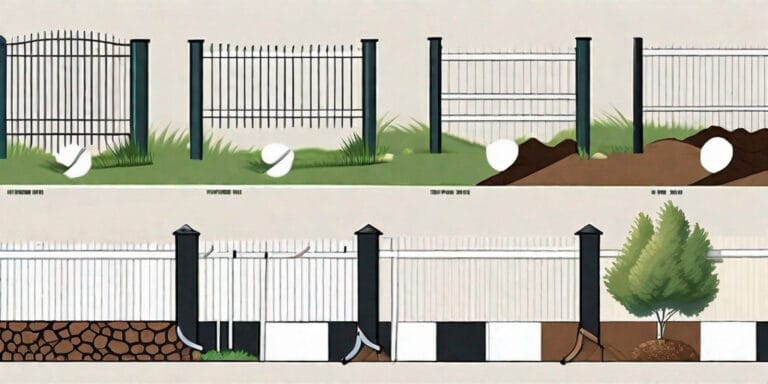
Planning Your Fence Layout
The next step in installing an electric fence is to plan your fence layout. Here’s how:
Determining the Fence Location
Decide where you want to install the fence and mark the perimeter of your property. Consider any natural barriers or boundaries that can assist in the installation. It’s also essential to check with local authorities for any regulations or permits required for installing fences.
Measuring and Marking Your Fence Line
Once you’ve determined the fence location, measure and mark your fence line. Use a measuring tape or a piece of string to ensure accuracy. Remember to include corners, gates, and any variations in terrain in your measurements.
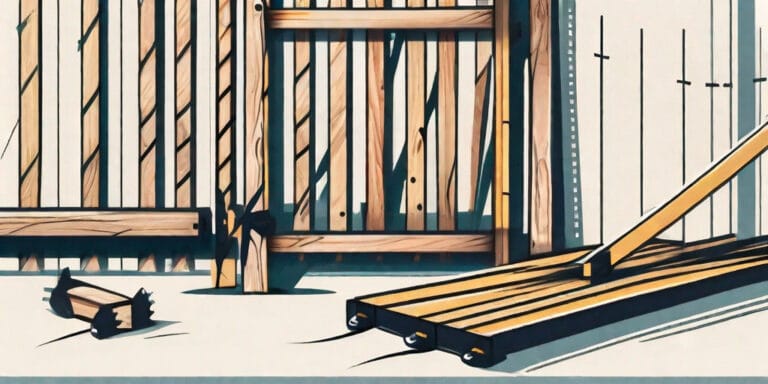
Setting Up the Fence Posts
The fence posts provide the foundation for your electric fence. Here’s how to set them up:
Digging the Post Holes
Using a fence post digger, dig holes along your fence line at regular intervals. The depth and spacing will depend on the type of fence and the terrain. As a general rule, the holes should be around one-third to one-half the length of the fence posts.
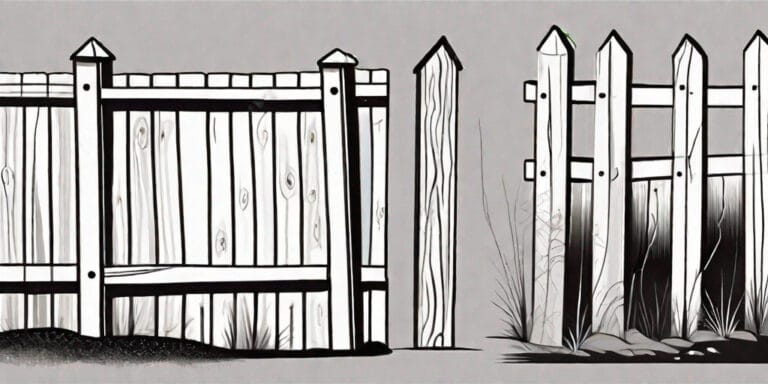
Installing the Posts
Place the fence posts into the holes and fill them with soil, firmly packing it around the posts to ensure stability. Use a level to ensure the posts are straight. Repeat this process for each post until the fence line is complete.
Installing the Electric Wire
Now that your fence posts are in place, it’s time to install the electric wire. Follow these steps:
Attaching the Insulators
Attach the insulators to the fence posts at regular intervals using the provided screws or nails. Ensure that the insulator is tightly secured to the post and that the wire will not come into contact with the post, which could cause a short circuit.
Running the Electric Wire
Start at one end of your fence line and secure the electric wire to the first insulator. Run the wire along the fence line, threading it through each insulator as you go. Keep the wire taut but not overly tight.
Continue this process until you reach the end of the fence line. Double-check that the wire is securely attached to each insulator and that there are no loose or damaged sections.
Installing an electric fence may seem daunting at first, but by following these step-by-step instructions, you can successfully complete the process. Remember to prioritize safety, gather the necessary materials, plan your fence layout, set up the fence posts, and install the electric wire. With an electric fence in place, you can enjoy the benefits of added security and peace of mind for your property.