How to Install a Privacy Fence: A Step-by-Step Guide
Privacy fences are an excellent addition to any property, providing security, seclusion, and a sense of privacy. If you’re considering installing a privacy fence, this comprehensive guide will walk you through the process step-by-step. From understanding the basics of privacy fencing to post-installation care and maintenance, we’ve got you covered. So, let’s dive in and learn how to install a privacy fence effectively.
Understanding the Basics of Privacy Fencing
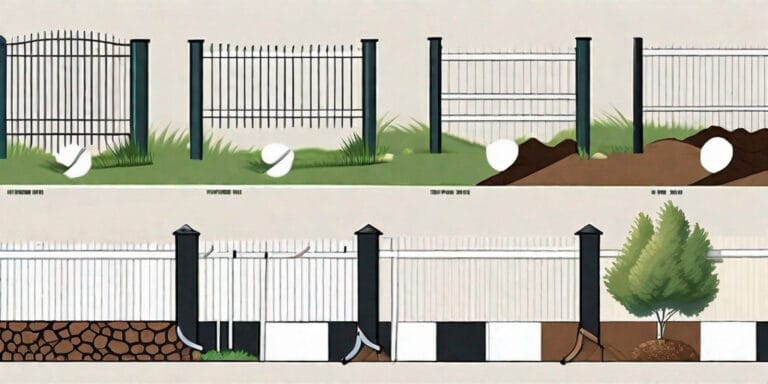
Before you start a privacy fence install, it’s crucial to understand the basics. Privacy fences are designed to block the view from outside, creating a secluded space within your property. They come in various types, each with its unique features and materials.
When it comes to privacy fences, there are several factors to consider. One of the most important factors is the type of fence you choose. The type of fence you select will depend on your budget, desired level of privacy, and aesthetic preferences. Let’s take a closer look at some popular options:
Types of Privacy Fences
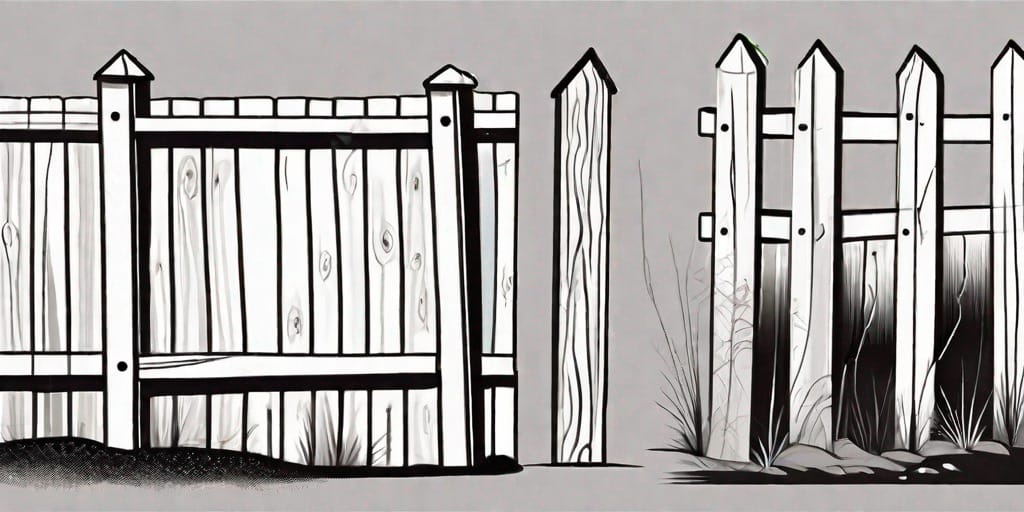
1. Wooden fences: Classic and versatile, wooden fences offer a natural look that blends well with any landscape. They can be made from different types of wood, such as cedar or pine, each with its own unique characteristics and durability.
2. Vinyl fences: If you’re looking for a low-maintenance and durable option, vinyl fences are an excellent choice. They provide excellent privacy without the need for regular upkeep. Vinyl fences are available in various styles and colors, allowing you to find the perfect match for your property.
3. Chain-link fences with privacy slats: Ideal for those on a tighter budget, these fences combine affordability with privacy. Chain-link fences are known for their durability, and privacy slats can be added to block the view and enhance privacy.
4. Composite fences: Made from a blend of materials, composite fences offer the appearance of wood with enhanced durability. They are resistant to rot, insects, and warping, making them a long-lasting option for privacy fencing.
Now that you’re familiar with the different types of privacy fences, let’s explore the benefits of installing one:
Benefits of Installing a Privacy Fence
- Enhanced privacy and security: A privacy fence serves as a physical barrier, keeping unwanted intruders out and preventing prying eyes from seeing into your property. Whether you’re enjoying a family gathering in your backyard or simply relaxing on your patio, a privacy fence provides peace of mind.
- Reduced noise pollution: Privacy fences can act as a sound barrier, helping to minimize the noise from busy streets or nearby neighbors. If you live in a bustling neighborhood or near a busy road, a privacy fence can create a quieter and more peaceful outdoor environment.
- Defined boundaries: Installing a privacy fence clearly marks the boundaries of your property, reducing potential disputes with neighbors. It provides a clear separation between your land and your neighbor’s, ensuring that everyone knows where their property begins and ends.
- Increased property value: In addition to the practical benefits, a well-maintained and aesthetically pleasing privacy fence can increase the value of your property. Potential buyers often view privacy fences as an attractive feature, as they offer added security, privacy, and a sense of seclusion.
As you can see, privacy fences offer more than just privacy. They provide security, reduce noise pollution, define boundaries, and can even enhance the value of your property. Take the time to choose the right type of fence for your needs and enjoy the benefits it brings to your outdoor space.
Pre-Installation Preparations
Before you start the installation process, take the time to prepare adequately. Here are some essential factors to consider:
Installing a fence can be a rewarding project that adds privacy, security, and aesthetic appeal to your property. However, it requires careful planning and preparation to ensure a successful outcome. By following these pre-installation preparations, you can set yourself up for a smooth and efficient installation process.
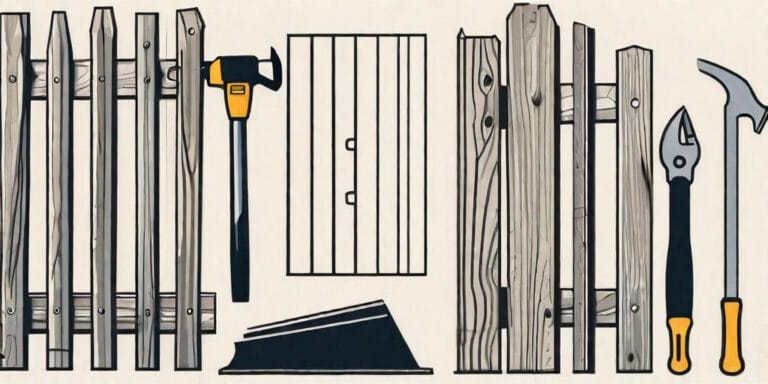
Tools and Materials Needed
Gather all the necessary tools and materials for the installation, which typically include:
- Tape measure: A tape measure is essential for accurately measuring the dimensions of your property and determining the placement of the fence.
- Post hole digger: A post hole digger is used to create holes in the ground for the fence posts. It ensures that the posts are securely anchored in the soil.
- Level: A level is used to ensure that the fence is straight and level. It helps in achieving a professional-looking installation.
- Hammer: A hammer is needed for driving nails or screws into the fence panels and posts.
- Saw: A saw is necessary for cutting the fence panels or materials to the desired size and shape.
- Nails or screws: Nails or screws are used to attach the fence panels to the posts and secure them in place.
- Fence panels or materials: Depending on your preference and the purpose of the fence, you will need fence panels or materials such as wood, vinyl, or metal.
- Concrete or gravel for post setting: Concrete or gravel is used to secure the fence posts in the ground, providing stability and durability.
Make sure you have all these tools and materials readily available before you begin the installation process. This will save you time and ensure a smoother workflow.
Assessing Your Property
Survey your property to identify any potential obstacles or challenges that could affect the fence installation. Consider factors such as underground utilities, tree roots, slopes, or uneven terrain.
It is crucial to assess your property thoroughly before installing a fence. By doing so, you can anticipate any potential issues and plan accordingly. Take note of any underground utilities, such as gas lines or electrical cables, to avoid damaging them during the installation process. Additionally, consider the presence of tree roots that may interfere with the fence posts’ placement or cause future damage. If your property has slopes or uneven terrain, you may need to make adjustments to ensure a level and secure fence installation.
Legal and Neighborhood Considerations
Ensure that you comply with local regulations and neighborhood guidelines regarding fence installation. Check for any height restrictions, setback requirements, or permits that may be necessary.
Before proceeding with the installation, it is essential to familiarize yourself with the legal and neighborhood considerations related to fence installation. Different areas may have specific regulations regarding fence height, setback requirements from property lines, or materials that can be used. It is crucial to adhere to these guidelines to avoid any legal issues or conflicts with your neighbors. Additionally, some jurisdictions may require permits for fence installation, especially for certain types or heights of fences. Make sure to research and obtain any necessary permits before starting the project.
By taking the time to prepare adequately and considering these pre-installation factors, you can ensure a successful and hassle-free fence installation. Planning ahead will help you avoid potential obstacles, comply with regulations, and achieve the desired outcome for your property.
Detailed Installation Process
With your pre-installation preparations complete, let’s dive into the step-by-step installation process:
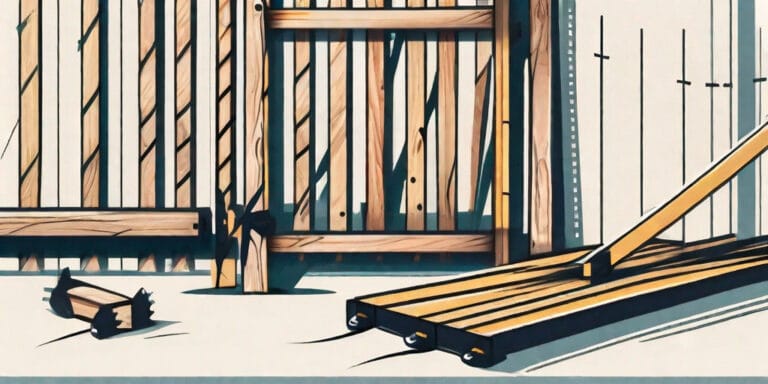
Setting the Fence Layout
Start by marking the desired fence line using stakes and string. This will give you a clear visual guide for digging the post holes and setting the fence panels.
When choosing the location for your fence, consider factors such as property boundaries, local regulations, and the purpose of the fence. Are you looking for privacy, security, or simply to enhance the aesthetic appeal of your property?
Take your time to carefully measure and plan the layout of your fence. Consider any obstacles or uneven terrain that may affect the installation process. By setting a clear and accurate fence layout, you’ll ensure a smooth installation process.
Digging Post Holes
Using a post hole digger, excavate holes along the marked fence line. The depth and diameter of the holes will depend on the size and type of your fence posts. Ensure they are deep enough to provide stability.
Before digging, it’s important to call your local utility companies to ensure there are no underground cables or pipes in the area. This will help prevent any accidents or damage during the installation process.
When digging the post holes, consider the soil composition and drainage in your area. If you have clay soil, you may need to dig deeper holes to ensure proper stability. On the other hand, sandy soil may require additional support, such as gravel, to prevent the posts from shifting over time.
Setting the Posts
Place each fence post into its respective hole, making sure they are level and plumb. Fill the holes with concrete or gravel and allow sufficient time for it to set and dry before proceeding.
When setting the posts, it’s important to ensure they are properly aligned and spaced. This will help maintain the structural integrity of the fence and provide a visually pleasing result.
Consider using a post level to ensure each post is perfectly plumb. This will prevent any leaning or tilting of the fence over time. Take your time during this step to ensure the posts are set correctly, as it will greatly impact the overall stability and longevity of your fence.
Attaching the Fence Panels
Once the posts are secure, attach the privacy fence panels to them using nails or screws. Follow the manufacturer’s instructions for the specific type of fence panels you have chosen. Ensure they are level and properly aligned to create a seamless appearance.
When attaching the fence panels, it’s important to use the appropriate fasteners for your specific type of fence. Stainless steel nails or screws are often recommended for outdoor installations, as they are resistant to rust and corrosion.
Take your time to ensure each panel is level and properly aligned with the adjacent panels. This will create a visually appealing and structurally sound fence. Consider using a level and measuring tape to ensure accuracy during this step.
Additionally, if you’re installing a privacy fence, make sure the panels are installed with minimal gaps between them. This will provide the desired privacy and prevent any unwanted visibility through the fence.
Post-Installation Care and Maintenance
Installing a privacy fence is just the beginning. To ensure its longevity and maintain its functionality, regular care and maintenance are essential. Here are some tips:
Regular Cleaning Tips
Keep your privacy fence looking its best by periodically cleaning it. Use a mild detergent or specialized fence cleaner, a soft brush, and water to remove dirt, grime, and mildew. Rinse thoroughly and allow it to air dry.
Repairing Damages
In the event of damages, such as broken panels or loose posts, address them promptly. Replace or repair any damaged components to maintain the structural integrity and privacy of your fence.
Seasonal Maintenance Advice
Extreme weather conditions can take a toll on your privacy fence. Regularly inspect it for signs of wear, warping, or discoloration. Consider applying a protective sealant or stain to prolong its lifespan and retain its visual appeal.
By following these steps, you can successfully install a privacy fence and enjoy the many benefits it provides. Remember to choose the right fence type for your needs, take time to prepare adequately, and maintain your fence regularly. With a beautifully installed privacy fence, you can transform your property into a secure and private oasis.