How to Install a Fence: A Step-by-Step Guide
Installing a fence around your property can provide privacy, security, and enhance the overall aesthetics of your outdoor space. Whether you are a seasoned DIYer or a beginner, this step-by-step guide will walk you through the process of installing a fence from start to finish. With a little planning and preparation, you can have a beautiful and functional fence that stands the test of time.
Understanding the Basics of Fence Installation
Before you embark on your fence installation journey, it’s important to familiarize yourself with the different types of fences available. Each type has its own unique characteristics, benefits, and considerations. Some common types of fences include:
Types of Fences
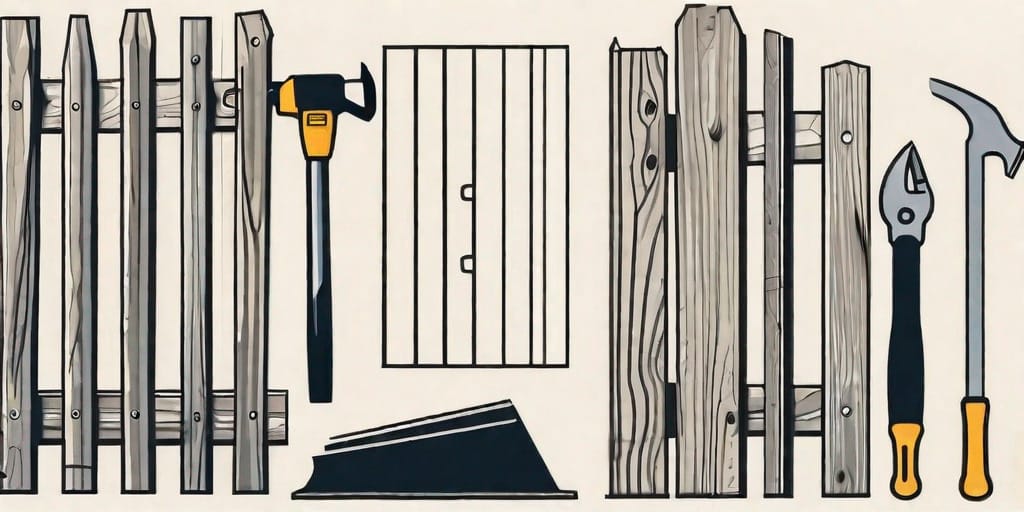
- Wooden fences: A timeless choice that offers natural beauty and versatility. They can be customized with various designs and can withstand different weather conditions.
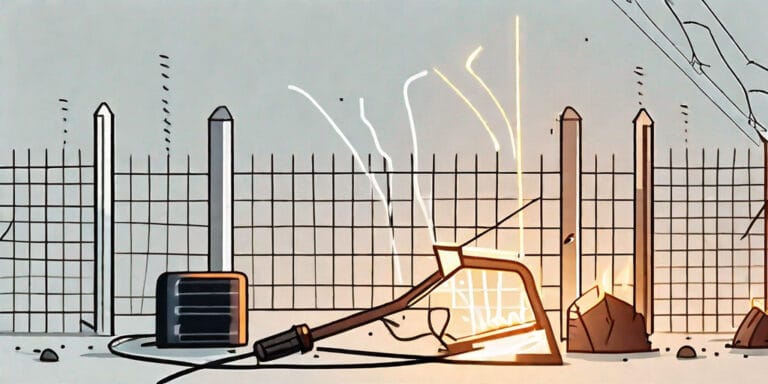
- Chain-link fences: Known for their durability, affordability, and low maintenance. They are often used for security purposes and are available in different heights.
- Vinyl fences: These fences are resistant to rot, warping, and insects. They require minimal maintenance and are available in a variety of styles and colors.
- Iron fences: Regarded for their elegance and strength. Iron fences often come in intricate designs and can be personalized to match your property’s architectural style.
Once you have chosen the type of fence that best suits your needs, gather the necessary tools and materials for the installation process:
Necessary Tools and Materials
- Tape measure: Accurate measurements are crucial for a successful fence installation. Use a tape measure to determine the length and height of your fence.
- String or chalk line: These tools help you create straight lines and ensure that your fence is properly aligned.
- Post hole digger or auger: Digging holes for the fence posts is a labor-intensive task. A post hole digger or auger can make the process easier and more efficient.
- Shovel: You’ll need a shovel to remove excess dirt and create a stable foundation for your fence posts.
- Level: A level is essential for ensuring that your fence is straight and properly aligned. Use it to check the vertical and horizontal position of your posts and panels.
- Mixing container for concrete: If you’re using concrete to secure your fence posts, you’ll need a container for mixing the concrete.
- Concrete mix: Concrete provides stability and strength to your fence posts. Choose a high-quality concrete mix that is suitable for outdoor use.
- Gravel: Placing gravel at the bottom of each post hole helps with drainage and prevents water from pooling around the posts.
- Screws or nails: Depending on the type of fence panels you’re using, you’ll need screws or nails to secure them to the posts.
- Fence panels: These are the main components of your fence. Choose panels that match the style and height of your fence.
- Gate (if desired): If you plan to have a gate in your fence, make sure to include it in your materials list. Gates provide access to your property and can be customized to match the design of your fence.
Before you start digging, it’s essential to familiarize yourself with any legal considerations and obtain the necessary permissions from your local authorities:
Legal Considerations and Permissions
Check your local building codes and homeowner’s association guidelines to ensure compliance with regulations. Depending on your area, you may need to obtain permits or submit plans for approval before proceeding with the fence installation.
Additionally, it’s important to consider the property boundaries and any potential restrictions that may affect the placement of your fence. Consult with your neighbors and review any existing agreements or easements that could impact your installation plans.
Furthermore, if you live in an area with underground utilities, it’s crucial to contact the appropriate utility companies to locate and mark any buried cables or pipes. This will help prevent accidental damage during the installation process.
Once you have addressed all the necessary legal considerations and obtained the required permissions, you can proceed with confidence in your fence installation project. Remember to take your time, follow the manufacturer’s instructions, and prioritize safety throughout the process.
Preparing Your Yard for Fence Installation
Once you have all the necessary information and materials, it’s time to prepare your yard for the fence installation process. Proper preparation ensures accurate measurements and prevents any potential setbacks down the line.
Installing a fence in your yard not only adds privacy and security but also enhances the overall aesthetic appeal of your property. Taking the time to prepare your yard properly will ensure a smooth and successful installation.
Measuring and Marking Your Fence Line
Start by measuring the perimeter of your property, taking note of any existing structures or obstacles that may affect the fence line. Accurate measurements are crucial to ensure you purchase the correct amount of fencing materials.
Use a tape measure and mark the boundaries with stakes or spray paint. This will help you visualize the fence line and ensure it aligns with your property boundaries. For a straight and level fence line, use a string or chalk line to guide you.
Consider the purpose of your fence when determining its location. If you want privacy, make sure the fence is positioned to block the view from neighboring properties. If you have pets or children, you may want to enclose a specific area of your yard for their safety.
Checking for Underground Utilities
Prior to digging any holes, it is essential to contact your utility company to verify the location of any underground utilities such as gas, water, or electrical lines. This step is crucial to avoid potential accidents or disruptions to essential services.
Utility companies often provide a free service to mark the location of their lines. Once you have this information, you can plan the placement of your fence posts accordingly, ensuring they do not interfere with any underground utilities.
Remember, it’s better to be safe than sorry. Accidentally hitting an underground utility line can not only be dangerous but also result in costly repairs and service interruptions.
Clearing the Fence Line
Clear any vegetation or debris along the fence line to ensure a smooth installation process. Remove any rocks, roots, or other obstructions that may interfere with digging the post holes.
Trim back any overhanging branches or bushes that could potentially damage the fence or obstruct its installation. It’s important to create a clear path along the fence line to make the installation process easier and more efficient.
Consider the long-term maintenance of your fence when clearing the fence line. Removing any vegetation now will help prevent future issues such as rotting or damage caused by plants growing too close to the fence.
Additionally, clearing the fence line will give you a better idea of how the fence will look once installed, allowing you to make any necessary adjustments or modifications before beginning the installation process.
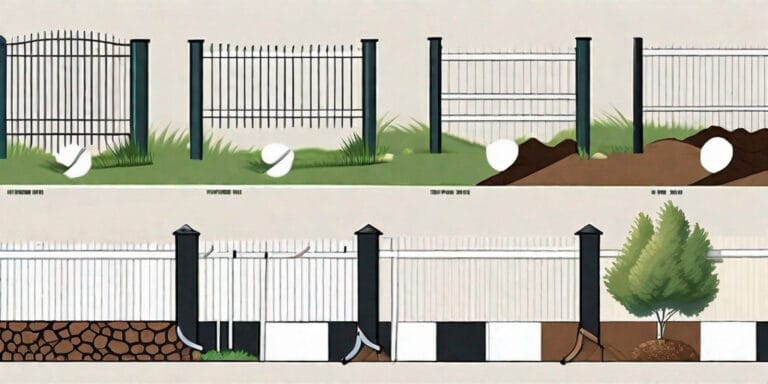
Setting the Fence Posts
Setting the fence posts properly is critical to ensure the stability and longevity of your fence. Take your time during this step to ensure accuracy and precision.
Before diving into the process of setting the fence posts, it’s important to understand the significance of this step. The fence posts are the backbone of your fence, providing the necessary support and strength to withstand various elements and ensure the overall integrity of the structure.
Now, let’s delve into the process of setting the fence posts.
Digging the Post Holes
Using either a post hole digger or auger, dig holes for the fence posts along the marked fence line. The depth and diameter of the holes will depend on the type of fence and the soil conditions in your area.
When digging the post holes, it’s important to consider the specific requirements for your fence. Different types of fences may have varying recommendations for hole depth and diameter. For instance, a wooden fence may require deeper holes compared to a vinyl fence. Additionally, the soil conditions in your area play a crucial role in determining the stability of the fence posts. If you have loose or sandy soil, you may need to dig deeper and wider holes to ensure a solid foundation.
Take your time while digging the post holes, ensuring that they are evenly spaced and aligned with the fence line. This will contribute to the overall aesthetic appeal of your fence.
Setting the Posts in Concrete
Place the fence posts in the holes and fill them with concrete mix, following the manufacturer’s instructions. Ensure the posts are plumb and level while the concrete sets. This will provide the stability needed to withstand wind and other elements.
Concrete is a popular choice for securing fence posts due to its durability and strength. When mixing the concrete, it’s essential to follow the manufacturer’s instructions carefully. Improper mixing can result in weak concrete, compromising the stability of the fence posts.
As you set the fence posts in the concrete, make sure they are plumb and level. Plumb refers to the vertical alignment of the posts, while level refers to the horizontal alignment. Using a level and a measuring tape, double-check that the posts are perfectly vertical and evenly spaced. This meticulous attention to detail will ensure a sturdy and visually appealing fence.
Ensuring Posts are Level and Aligned
Use a level to ensure that the fence posts are level and aligned properly. Make any necessary adjustments before the concrete sets to ensure a straight and professional-looking fence.
Leveling the fence posts is a crucial step in achieving a visually pleasing and structurally sound fence. Using a level, check that each post is perfectly level from all angles. This will prevent any unevenness or sloping in the final fence installation.
In addition to being level, it’s important to ensure that the fence posts are aligned properly. A misalignment can result in a crooked fence, which not only looks unappealing but can also compromise its stability. Take the time to adjust the position of the posts, if needed, before the concrete sets. This will save you from potential headaches and rework down the line.
By following these steps and paying attention to the details, you can set your fence posts with confidence, knowing that your fence will stand strong for years to come.
Attaching the Fence Panels
Now that the fence posts are set, it’s time to attach the fence panels to complete the installation. This step requires careful consideration to ensure a secure and visually appealing result.
Choosing the Right Panels
Select fence panels that match the style and purpose of your fence. Measure the distance between the fence posts to determine the number and width of panels needed. Ensure the panels are the correct height and consider any slopes or obstacles along the fence line.
Securing Panels to Posts
Secure the fence panels to the posts using screws or nails, following the manufacturer’s instructions. Double-check that each panel is level and aligned with the rest of the fence. This will create a seamless and professional look.
Adjusting Panels for Slopes and Obstacles
If your fence line encounters slopes or obstacles such as trees or rocks, adjust the panels accordingly. Trim panels or create a stepped effect to maintain a consistent top line. Ensure that the panels are securely attached and provide the necessary functionality and privacy.
Installing a fence is a rewarding project that adds both value and functionality to your property. By understanding the basics of fence installation, preparing your yard, setting the posts correctly, and attaching the fence panels properly, you can create a beautiful and durable fence that will serve you for years to come.