How to Install a Chain Link Fence
A chain link fence is a popular and cost-effective option for property owners looking to enclose their yard or secure an area. It is sturdy, durable, and provides a clear boundary without obstructing the view. If you are considering installing a chain link fence, this comprehensive guide will walk you through the entire process, from understanding the basics to tightening the chain link mesh. So roll up your sleeves, gather your tools, and let’s dive in!
Understanding the Basics of Chain Link Fencing
Chain link fencing is a popular choice for both residential and commercial properties due to its versatility, low-maintenance nature, and affordability. This type of fence, also known as cyclone fence or hurricane fence, is made up of woven wire mesh supported by upright posts. The wire mesh is typically constructed from galvanized steel, which not only provides excellent strength but also offers exceptional resistance to corrosion.
What is a Chain Link Fence?
A chain link fence is designed to create a diamond pattern when stretched taut between the posts. This pattern not only adds an aesthetic appeal to the fence but also enhances its security and visibility. The tightly woven wire mesh acts as a barrier, preventing unauthorized access while allowing a clear view of the surroundings.
Benefits of Using Chain Link Fences
There are several advantages to choosing chain link fences for your property. Firstly, their versatility makes them suitable for various applications. Whether you need to enclose a backyard, secure a commercial property, or create a boundary for a sports field, a chain link fence can adapt to your specific requirements.
Another significant benefit of chain link fences is their low-maintenance nature. Unlike other types of fences that may require regular painting or staining, chain link fences do not need any special treatments. They are resistant to rot, decay, and insect damage, ensuring long-lasting durability without the need for frequent repairs or replacements.
Furthermore, chain link fences are known for their affordability. If you are on a budget but still want a reliable and functional fencing solution, a chain link fence is an excellent choice. The materials used in its construction are cost-effective, making it a cost-efficient option for both residential and commercial properties.
Necessary Tools and Materials for Installation
Before you embark on the installation process, it is crucial to gather all the necessary tools and materials. Having everything at hand will ensure a smooth and successful installation. Here are the essential items you will need:
- Fence posts: These upright posts provide the structural support for the chain link fence.
- String or twine: Used to mark the fence line and ensure a straight installation.
- Tape measure: Necessary for accurate measurements to determine the spacing of the fence posts.
- Marking spray paint: Helps mark the exact locations where the fence posts will be installed.
- Post hole digger: Used to dig the holes for the fence posts.
- Cement: Required to secure the fence posts in the ground and provide stability.
- Level: Ensures that the fence posts are installed vertically and the fence is straight.
- Wire cutters: Used to cut the chain link fence mesh to the desired size.
- Fence mesh: The woven wire mesh that forms the main body of the chain link fence.
- Fence ties: These secure the fence mesh to the fence posts, ensuring a tight and secure installation.
- Gate hardware: If you plan to include a gate in your chain link fence, gate hardware such as hinges and latches will be necessary.
- Tension bands: These metal bands are used to attach the fence mesh to the fence posts, providing tension and stability.
- Tension bars: Placed horizontally through the fence mesh, tension bars help distribute the tension evenly and prevent sagging.
- Plumb bob: A tool used to ensure the fence posts are installed in a straight line.
- Wrench: Necessary for tightening nuts and bolts during the installation process.
Preparing for the Installation
Measuring and Marking Your Fence Layout
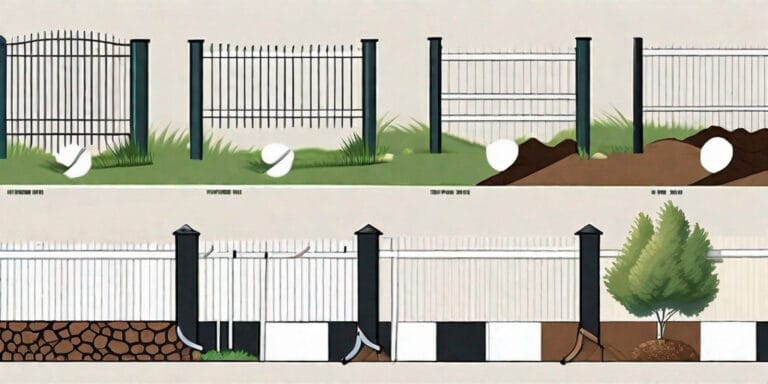
The first step in installing a chain link fence is measuring and marking your desired fence layout. Use your tape measure to determine the dimensions of your property and mark the corners with spray paint or stakes. This process is crucial as it ensures that your fence will be installed in the correct location, following the boundaries of your property.
When measuring, take into consideration any existing structures or features that may affect the placement of your fence. This could include trees, sheds, or utility lines. By accounting for these factors, you can avoid any potential obstacles during the installation process.
Once you have determined the layout, it is important to double-check that it adheres to local regulations. Different areas may have specific guidelines regarding fence placement, such as setback requirements from property lines or height restrictions. By ensuring compliance with these regulations, you can avoid any future issues or disputes.
Understanding Local Regulations and Permits
Before installing your chain link fence, make sure you are familiar with local regulations and obtain any necessary permits. Research the specific requirements for your area, as they can vary from one municipality to another.
Some areas may have height restrictions for fences, especially in residential neighborhoods. These restrictions are in place to maintain the aesthetic appeal of the community and ensure that all residents have an unobstructed view. Additionally, setback requirements may dictate how far your fence must be from property lines or sidewalks.
Obtaining the necessary permits is essential to avoid any legal issues or penalties. Contact your local building department or zoning office to inquire about the permit application process. They will provide you with the required forms and inform you of any fees or documentation needed.
By understanding and following local regulations, you can install your chain link fence with confidence, knowing that it complies with all legal requirements.
Preparing the Ground for Installation
Next, prepare the ground for your fence installation. Clear any vegetation or debris from the marked area to ensure a clean and even surface. Remove any rocks, branches, or other obstructions that may hinder the installation process.
If there are any tree roots within the marked area, consider relocating them or adjusting your fence layout accordingly. Tree roots can cause uneven ground, which may affect the stability of your fence posts. By addressing this issue beforehand, you can ensure a secure and long-lasting installation.
It is also important to ensure that the ground is level. Uneven ground can result in a crooked or unstable fence. Use a level or a string line to check for any slopes or variations in the ground. If necessary, you may need to make adjustments, such as adding or removing soil, to achieve a level surface.
By properly preparing the ground, you are setting the foundation for a successful chain link fence installation. Taking the time to clear the area and ensure a level surface will contribute to the overall stability and longevity of your fence.
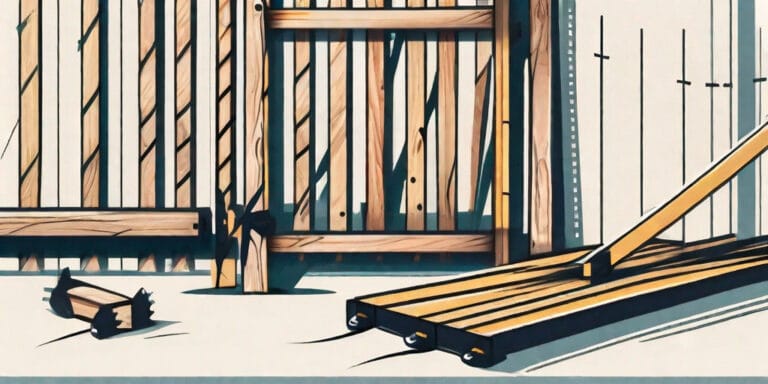
Setting Up the Fence Posts
Digging the Post Holes
Now it’s time to dig the post holes. Use a post hole digger to create holes at regular intervals along the marked layout. The depth of the holes will depend on the height of your fence and local regulations. Generally, a depth of 1/3 the height of the post is recommended for stability.
Setting the Terminal Posts
Once the post holes are dug, it’s time to set the terminal posts. Terminal posts are the corner and end posts that provide stability to the fence. Place the posts in the holes and pour cement around them to secure them in place. Use a level to ensure the posts are perfectly vertical before the cement dries.
Installing the Line Posts
After the terminal posts are set, it’s time to install the line posts. Line posts are the intermediate posts that run between the terminal posts and support the fence mesh. Place the line posts in the remaining holes and secure them with cement. Remember to check the alignment and levelness of each post as you proceed.
Installing the Chain Link Mesh
Unrolling the Fence Mesh
With the posts securely in place, it’s time to unroll the fence mesh. Starting from one terminal post, attach the mesh to the top rail and unroll it along the line posts. Use fence ties to fasten the mesh to the line posts at regular intervals. Ensure the mesh is taut and parallel to the ground.
Attaching the Fence to the Posts
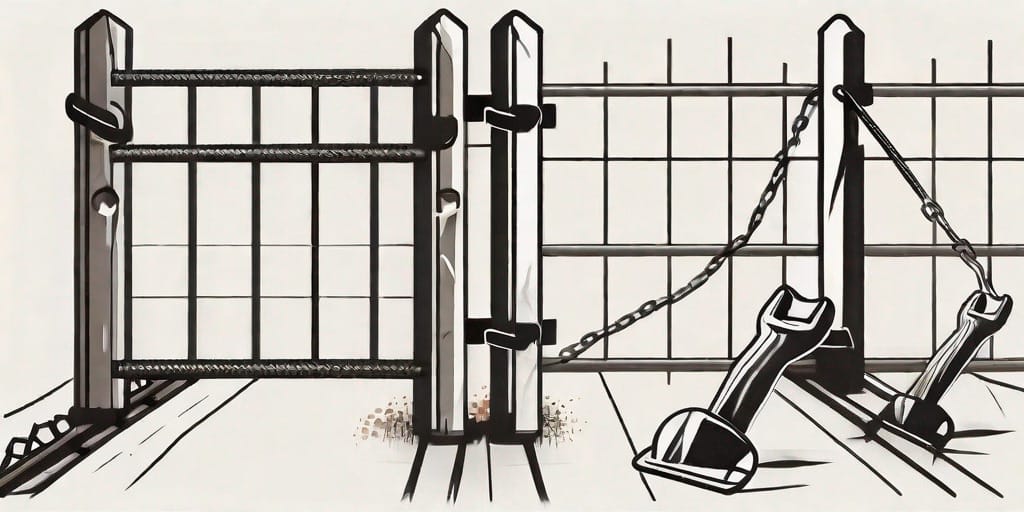
Continuing from the previous step, attach the fence mesh to the terminal posts. Use tension bands to secure the mesh to the terminal posts at the top, middle, and bottom. Make sure the tension bands are properly tightened to eliminate any sagging or slack in the mesh.
Tightening the Chain Link Mesh
Once the fence mesh is attached, it’s time to tighten it for a clean and professional finish. Use tension bars and a come-along tool to apply tension to the fence mesh. This will ensure it is properly stretched and eliminates any remaining slack. Repeat this process until the fence mesh is uniformly taut throughout.
By following these step-by-step instructions, you can successfully install a chain link fence. Remember to take your time, carefully measure and mark your layout, and ensure proper tension for a secure and aesthetically pleasing fence. With your new chain link fence, you can enjoy enhanced security, privacy, and peace of mind for years to come!