How to Install a Fence Post: A Step-by-Step Guide
Installing a fence post may seem like a daunting task, but with the right knowledge and tools, it can be a straightforward process. Whether you’re adding a new fence or replacing an old one, proper installation is crucial for ensuring its durability and stability. In this step-by-step guide, we will walk you through the process of installing a fence post, from understanding the basics to securing the post in place. By following these instructions, you’ll be able to confidently install your fence post and enjoy a beautiful and functional fence for years to come.
Understanding the Basics of Fence Post Installation
Before diving into the installation process, it’s important to have a good grasp of the basics. This includes knowing the different types of fence posts available and gathering the necessary tools for the job.
When it comes to fence post installation, there are a few key factors to consider. One of the most important decisions you’ll need to make is choosing the right type of fence post for your project. There are various options to choose from, each with its own advantages and considerations.
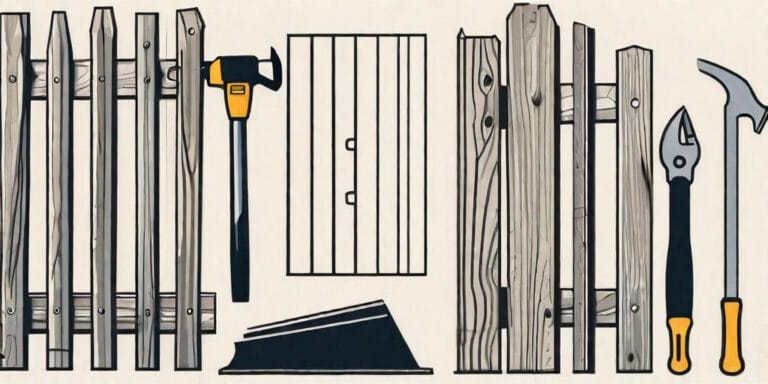
Types of Fence Posts
Wooden fence posts are a popular choice due to their natural beauty and versatility. They can be easily customized to fit any style or design preference. However, they do require regular maintenance to prevent rotting and warping.
Metal fence posts offer durability and strength. They are resistant to rot, insects, and weather conditions, making them a low-maintenance option. Metal posts are often used for heavy-duty applications or in areas with high wind conditions.
Vinyl fence posts are known for their durability and long lifespan. They are resistant to rot, insects, and weather damage, making them a low-maintenance option. Vinyl posts are available in a variety of colors and styles, allowing you to create a cohesive look for your fence.
Each type of fence post has its own advantages and considerations, so it’s essential to select the type that best suits your project and budget. Consider factors such as the climate in your area, the desired lifespan of your fence, and the overall aesthetic you want to achieve.
Necessary Tools for Installation
Having the right tools on hand will ensure a smooth installation process. Some essential tools you’ll need include:
- A post hole digger: This tool is used to dig the holes for your fence posts. It allows you to create deep and evenly spaced holes, ensuring stability for your fence.
- A level: This tool is used to ensure that your fence posts are installed vertically and that your fence is level. It helps prevent any leaning or unevenness in your fence.
- A measuring tape: This tool is used to measure the distance between your fence posts and ensure that they are evenly spaced.
- A shovel: This tool is used to remove any excess dirt or debris from the post holes.
- A tamper: This tool is used to compact the soil around the fence posts, providing stability and preventing shifting.
- A spirit level: This tool is used to check the horizontal level of your fence posts and ensure that they are straight.
- A mallet: This tool is used to drive the fence posts into the ground.
- Safety equipment: It’s important to prioritize safety during the installation process. Be sure to wear work gloves and goggles to protect your hands and eyes.
Having these tools ready before you begin will save you time and make the job easier. It’s also a good idea to have some extra materials on hand, such as extra fence panels and fasteners, in case any repairs or replacements are needed in the future.
Pre-Installation Preparations
Before starting the installation, there are a few crucial pre-installation steps you should take to ensure a successful outcome.
Installing a fence can be an exciting project that adds both beauty and functionality to your property. However, it requires careful planning and preparation to ensure a smooth and efficient installation process. By following these pre-installation preparations, you can set yourself up for success and avoid any potential issues down the line.
Choosing the Right Location
Selecting the right location for your fence post is vital. It’s not just about aesthetics; you need to consider various factors to ensure a sturdy and long-lasting fence.
First, take a look at your property lines. It’s crucial to know where your property ends and your neighbor’s begins to avoid any legal disputes or encroachments. Additionally, understanding your property lines will help you determine how much fencing material you’ll need.
Next, consider the terrain of your property. Is it flat, sloped, or uneven? The topography of your land will affect the installation process and the type of fence you choose. For example, if you have a sloped yard, you may need to install stepped panels or adjust the height of the fence to accommodate the incline.
Don’t forget to check for any underground utilities before digging. Contact your local utility companies to mark the location of gas lines, water pipes, and electrical cables. This step is crucial for your safety and to prevent any damage to existing infrastructure.
Lastly, familiarize yourself with local building codes and regulations. Each municipality may have specific requirements regarding fence height, setback distances, and materials. By understanding and adhering to these regulations, you can avoid costly fines and potential legal issues in the future.
Taking the time to plan and choose the right location will prevent future issues and ensure your fence is built on solid ground.
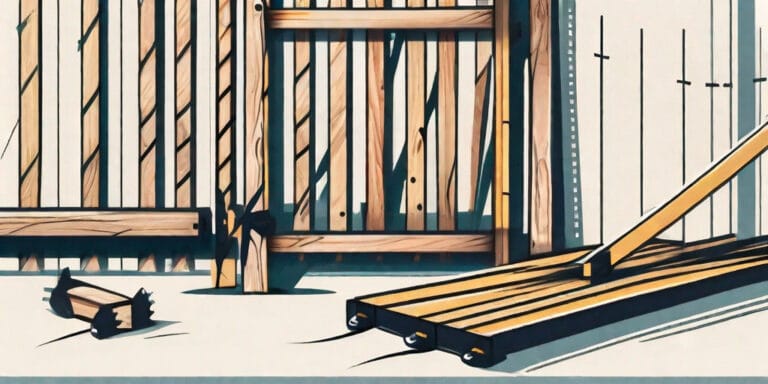
Measuring and Marking Your Fence Line
Accurate measurements and proper marking are essential for a straight and even fence line. Before you start digging holes for your fence posts, it’s crucial to measure and mark the exact positions.
Start by using a measuring tape to determine the correct measurement between posts. This measurement will depend on the type of fence you’re installing and the spacing recommended by the manufacturer. Remember to account for gate openings and any special features you plan to incorporate into your fence design.
Once you have the measurements, mark the positions clearly using stakes or spray paint. It’s important to mark both the starting and ending points of your fence line, as well as the positions for each post along the way. This will serve as your guide throughout the installation process, ensuring that your fence is straight and aligned.
When marking the positions, consider the topography of your land. If you have a sloped yard, you may need to adjust the height of the posts to maintain a level fence. Use a level or a string line to ensure that your fence will follow the natural contours of the land while remaining level and visually appealing.
By taking the time to measure and mark your fence line accurately, you’ll save yourself from potential headaches later on. A straight and even fence line will not only enhance the aesthetics of your property but also provide better security and privacy.
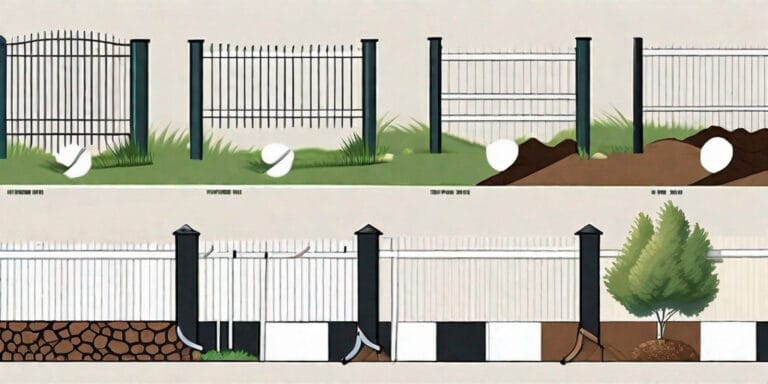
Digging the Post Holes
Once the pre-installation preparations are complete, it’s time to dig the post holes. This step is crucial for providing a stable foundation for your fence posts.
Determining the Correct Depth
The depth of your post holes will largely depend on the height of your fence and local building codes. As a general rule, aim to have at least one-third of the post’s length buried underground. This will provide the necessary support and prevent your fence from leaning or collapsing over time.
Techniques for Efficient Digging
When digging the post holes, it’s important to remove enough soil to accommodate the post without overcrowding it. Use a post hole digger or shovel to carefully dig the holes, ensuring they are wide enough for the posts to fit comfortably. A wider hole at the bottom will also provide additional stability.
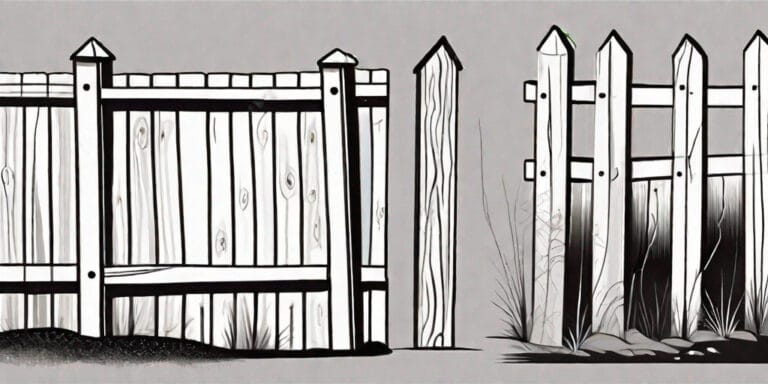
Setting the Fence Post
With the post holes dug, it’s now time to set the fence posts in place.
Preparing the Post for Installation
Prior to setting the post, inspect it for any defects or damage. Trim any excess length if necessary. Applying a wood preservative to a wooden post can help prolong its lifespan. By taking these extra steps, you’ll ensure a solid and long-lasting fence.
Positioning and Leveling the Post
Place the post into the hole, ensuring it is centered and level. Use a spirit level to check for plumb from different angles. Adjust the position or add or remove soil as needed to achieve a level and stable post. Take your time with this step, as the accuracy of the post’s positioning will affect the overall stability of your fence.
Securing the Fence Post
Once the fence post is in position, it’s time to ensure its stability by securing it properly.
Using Concrete for Stability
One common method for securing fence posts is using concrete. Prepare a bag of quick-setting concrete according to the manufacturer’s instructions. Pour the concrete into the hole around the post, ensuring it fully covers the bottom and fills any gaps. Use a tamper or mallet to compact the concrete, eliminating any air pockets. Allow the concrete to set completely before proceeding.
Checking Alignment as Concrete Sets
As the concrete sets, periodically check and adjust the post’s alignment. This will prevent any shifting or leaning during the setting process. Use a level to ensure the post remains straight and plumb, making any necessary adjustments before the concrete sets completely.
By following these step-by-step instructions, you’ll be able to install your fence post with confidence. Remember to plan and prepare, take accurate measurements, and ensure proper alignment and stability. With the right tools and knowledge, your fence installation will be a success, providing security, privacy, and aesthetic appeal to your property for years to come.